Quick start
This is the fastest path from a fresh scene to a gradient-painted model — about a minute.
Built-in helper
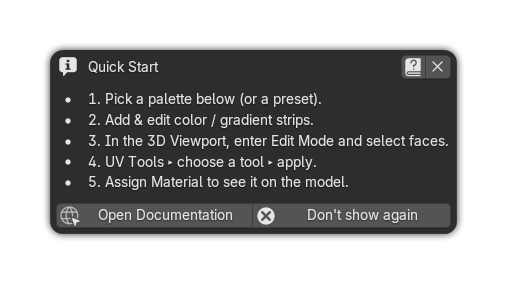
The Gradient Tools panel shows a Quick Start block for newcomers. You can dismiss it with Don't show again (it asks for confirmation) and bring it back any time from Preferences ▸ Add-ons ▸ Gradient Tools ▸ Show Quick Start.
1. Create a palette
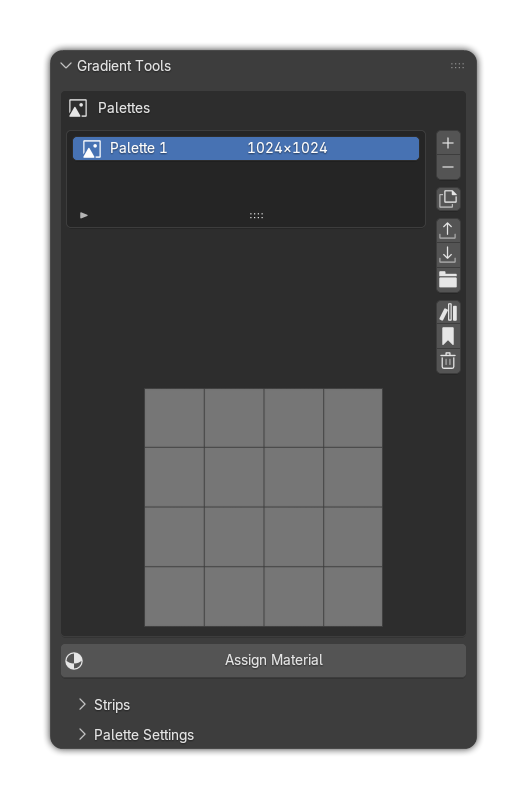
In the 3D Viewport, open the sidebar (N) ▸ Gradient Tools tab ▸ Gradient Tools panel and click + to add a palette.
A new palette starts empty — every cell is a blank slot, ready for you to fill.
2. Add some colors
You have two options:
- Load a preset — open the preset picker and choose Flat Colors, Grayscale or Gradients for an instant starting palette. (See Presets.)
- Add strips manually — in the Strips panel click Flat or Gradient to add cells, then edit their color / color-ramp. (See Strips.)
3. Assign the material
Select your object and click Assign Material (in the Gradient Tools panel, or the primary button in Apply & Export). This creates a per-object material that uses your palette texture and applies it to the object.
Tip
To make several objects share the same palette at once — so editing it re-colours them all — set one up, then select the rest and use Link Looks (Shared).
4. Pick a tool and a target strip
- Enter Edit Mode (Tab) and select the faces you want to paint.
- Open the UV Tools panel and choose a tool tab: Project, Paint, Radial or Path.
- Under ① Target strip, click the strip you want to paint with.
The panel shows a green Ready — Edit Mode and material assigned status when everything is set.
5. Paint
- Project → click Snap UVs to Strip (or pick an axis / current view). One click, done.
- Paint / Radial / Path → click Activate … Tool, then follow the on-screen steps (drag, click points, etc.). A live preview follows your cursor; press F any time to invert the gradient.
That's it — your selected faces now display the strip's color or gradient, live.
6. Pick a look
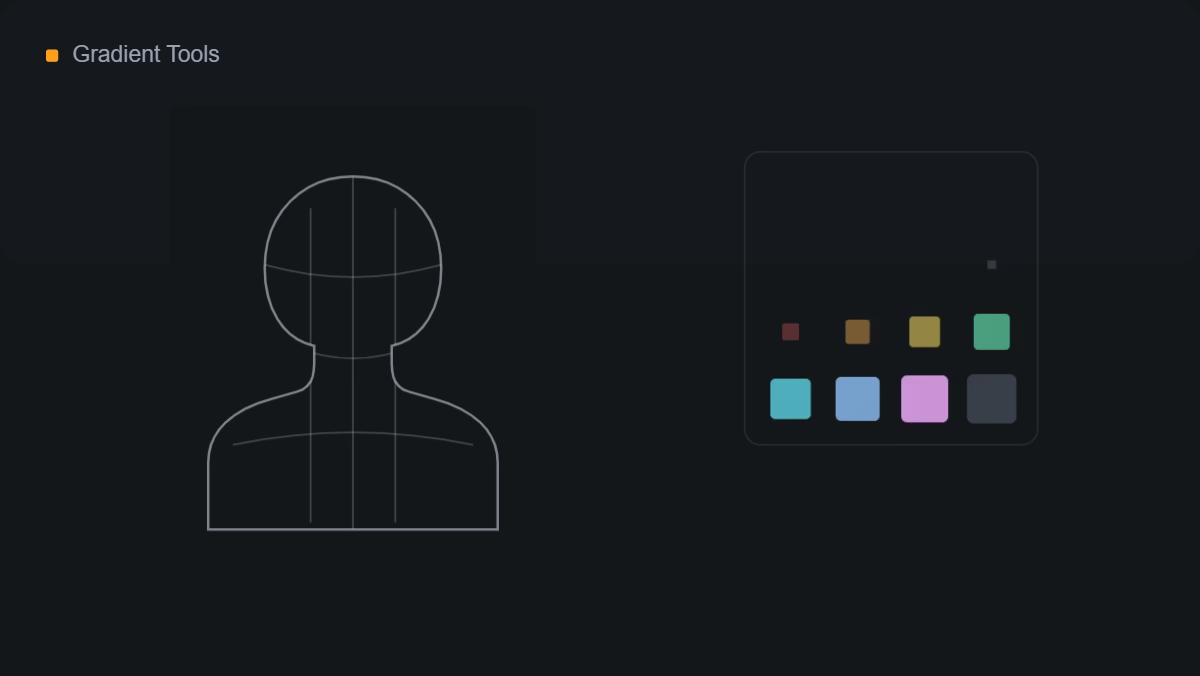
Open the Material Look panel (Sidebar ▸ Gradient Tools ▸ Material Look) and choose one of the six looks. Flat and Toon keep the exact palette colour and read correctly even without lights; Plastic, Glossy, Metal and Glass add real 3D shading while keeping the same hue.
Tip
The Material Look panel follows your selection — pick an object and it auto-selects that object's look so the parameters are ready to tweak. See Material Looks.