Painting tools
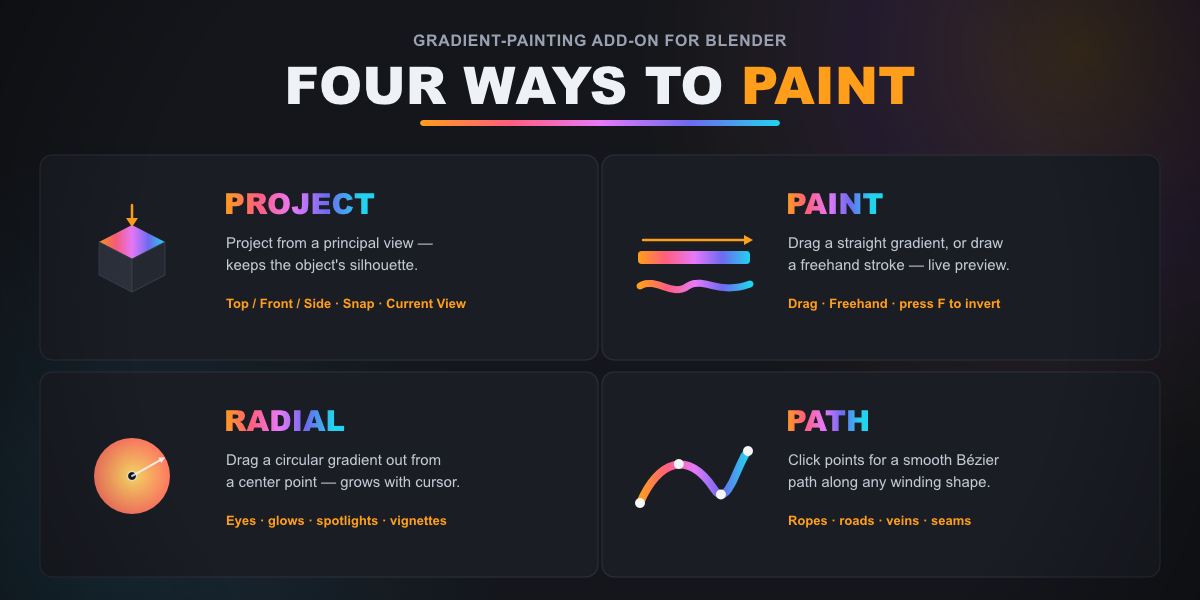
Gradient Tools gives you four ways to map a strip onto your faces. They all live in the UV Tools panel of the 3D Viewport, they all show a live preview, and none of them needs a UV unwrap.
| Tool | Best for |
|---|---|
| Project | Flat / angled faces — fastest, one click. |
| Paint | Free-form directional gradients — drag a line or draw by hand. |
| Radial | Circular highlights or vignettes from a center point. |
| Path | Gradients that follow a curved or branching shape. |
The common workflow
Every tool follows the same three-step pattern:
- Select faces. Enter Edit Mode (Tab) and select the faces to paint.
- Pick a target strip. Under ① Target strip, click the strip you want to paint with. The panel confirms Selected: name (Flat / Gradient).
- Paint. Use the tool — one click for Project, or Activate … Tool and follow the on-screen steps for Paint / Radial / Path.
The status line shows Ready — Edit Mode and material assigned when you are good to go.
What every tool gives you
- A live GPU preview, redrawn every frame — what you see is what you get.
- Press F to invert the gradient at any time, even mid-drag.
- An on-screen shortcut HUD so you never have to remember the keys.
- The selected-face overlay auto-hides while painting so nothing blocks your colors.
- Robust, artifact-free projection that handles dense or irregular meshes and geometry outside the camera view without stray colors, seams or noise.
No UV unwrap, ever
Each tool generates the UVs it needs on the fly. If your mesh has no UV map, one is
created automatically (named UVMap, or whatever you set in
Palette Settings ▸ UV Layer).
Flat vs. gradient strips
- With a Flat target strip, the only thing that matters is which faces get the color — so Project ▸ Snap is usually all you need.
- With a Gradient target strip, the tool also decides the gradient's direction and shape — that's where Paint, Radial and Path shine.